Front-camera photos can look different from the preview because of mirroring, wide-angle distortion, automatic beauty processing, weak light, and the short distance between the phone and your face. Identifying which of those factors is responsible is more effective than adding another filter afterward.
The most reliable improvements come from camera position and light: hold the phone slightly farther away, keep the lens close to eye level, use the grid for balance, and face a soft light source. A modest crop usually produces a more natural face shape than placing the phone very close and relying on the full wide-angle view.
Android and iPhone camera menus use different names for mirrored selfies, grid lines, beauty effects, and lens correction. Test one setting at a time and compare the saved file, not only the live preview. Some phones intentionally show a mirrored preview but save the final image in the opposite orientation.
The steps below focus on practical changes that work across many phones. Results still depend on the camera sensor, app processing, device model, and available light, so treat the examples as a testing method rather than a guaranteed preset.
The existing button opens the Touch the Notch listing in Google Play. It is a phone-control utility rather than a dedicated selfie-camera application, so review the listing and confirm that it matches the feature shown in the original creator video before installing it.
Why front-camera photos look different
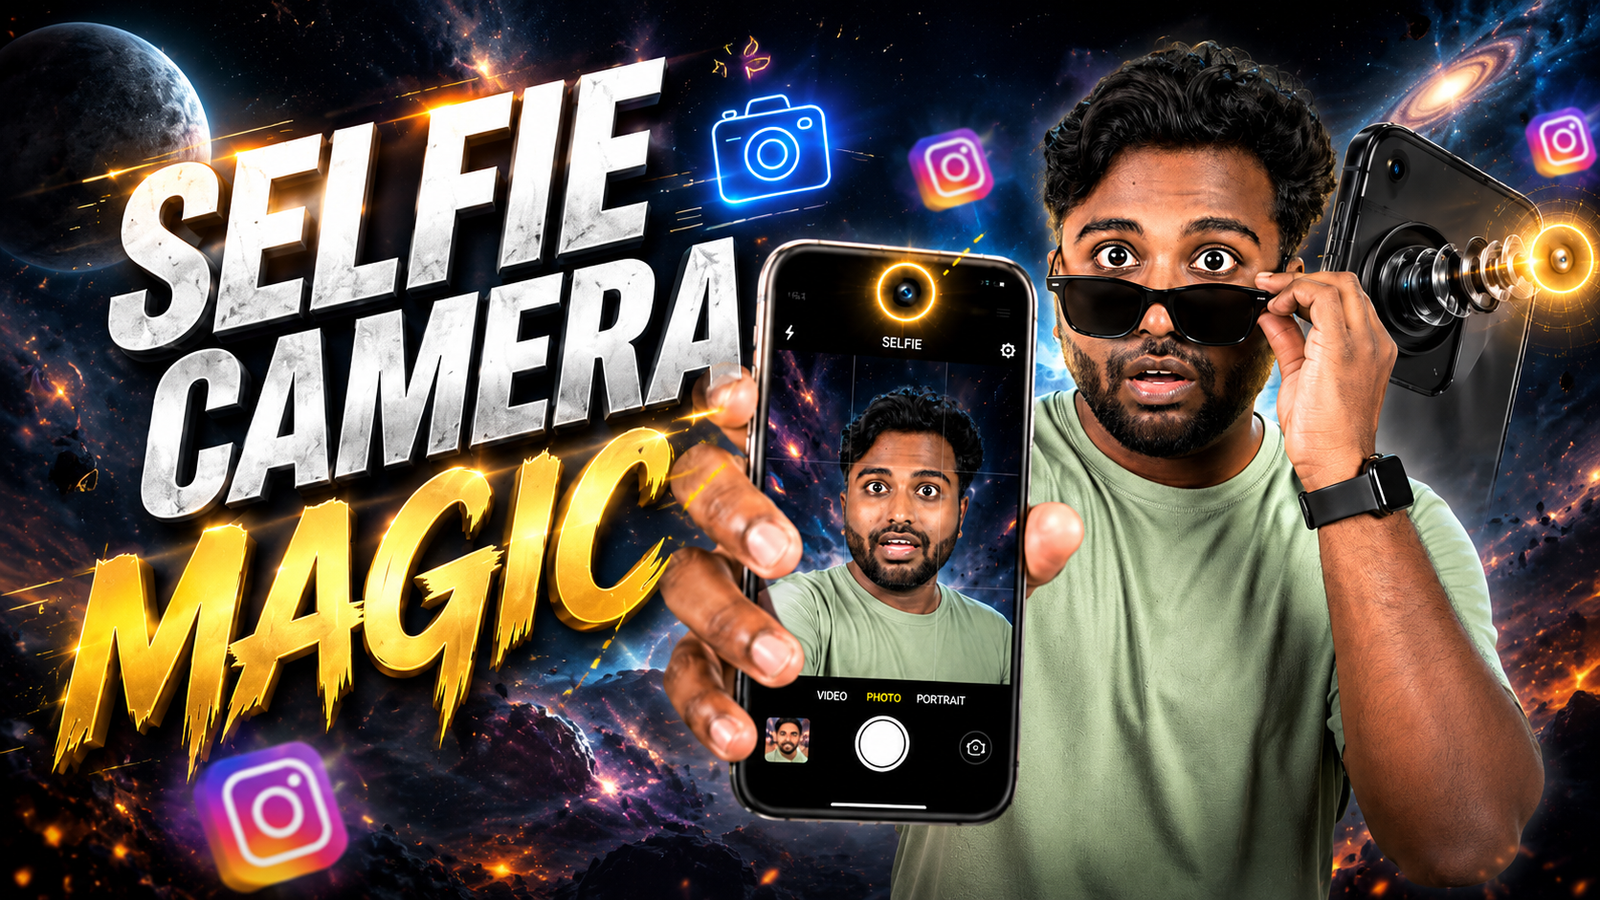
The main trick is surprisingly simple. Use the front camera with three things turned on or adjusted: non mirrored capture, grid lines, and 1.1 to 1.3 times zoom. Together these fix distorted facial proportions, help your eyes sit in the right position, and keep the final image closer to how others see you.
Most phones flip the front photo horizontally by default because it matches what you see in a mirror. The problem is that the lens sits very close to your face and can stretch features. Slight zoom uses more central pixels and reduces edge distortion. The grid keeps your head aligned so your eyes are not drifting to the very top of the frame.
Set up a repeatable selfie test
Camera menus differ by brand, so expect names to vary slightly. The idea stays the same even if the buttons move after updates.
Official App Listing
Step 1: Turn Off Mirrored Save
- On many Android phones, open the Camera app, go to Settings, look for Save selfie as previewed or Mirror front camera and turn it off.
- On iPhone, go to Settings, then Camera, then disable Mirror Front Camera if you want a true reflection of how others see you.
With mirroring off, your selfie may feel strange at first because you are used to the mirror version of your own face. Give it a few days. Most people who post publicly prefer the non mirrored result because it looks more natural to others.
Step 2: Enable Grid Lines
- In the camera settings, look for Grid, Grid lines, or 3 x 3 grid and turn it on.
Use the top horizontal line around eye level and keep your eyes slightly above the center. This simple habit reduces that floating head effect and gives your photos a more balanced composition.
Step 3: Add Small Zoom To Reduce Distortion
Set the selfie camera zoom to around 1.1 to 1.3 instead of 1.0. You can usually pinch to zoom slightly on the screen or tap a small zoom indicator near the shutter.
This tiny zoom pulls your face away from the wide angle edges. Noses and cheeks look more natural, especially on cheaper phones where the default selfie lens is very wide.
Testing an indoor evening selfie
Imagine a common situation. You are on a video call, the light is mostly from a ceiling bulb, and you want to capture a quick selfie. With the default selfie setup, your skin looks a bit yellow, under the eyes is dark, and your forehead looks slightly larger than it really is.
Using the trick, stand a little closer to a side wall or lamp so light hits your face from the front or 45 degree angle, not directly from above. Turn your shoulders slightly, hold the camera a bit higher than eye level, use 1.2 zoom, and tap to focus on your eye. The grid helps keep your eyes in the top third of the frame. You get cleaner contrast, more even skin, and less warped features.
Testing a travel or street selfie
When traveling, people often shoot selfies with a famous building in the background. The usual mistake is placing the monument directly above the head and using the full wide angle. The face gets very close, the background leans, and everything looks noisy if the light is not ideal.
Instead, face slightly away from the sun, not directly into it and not with harsh backlight. Hold the phone at arm length above eye level, turn the phone a bit so the background sits in one side third of the grid, then apply the 1.2 zoom. This gives you a balanced frame where your face is sharp, the background remains visible, and the edges are less bent.
What to compare over several days
Consider a creator who posts daily outfit photos using the front camera. Before using this trick, their photos looked soft around the edges, with slightly swollen cheeks because the lens was too close. They also kept the phone at chest height, so the jawline was never clear.
After one week of applying non mirrored save, grid lines, small zoom, and camera held just above eye level, their posts changed noticeably. Followers commented that the style looked more professional even though the same phone was used. Edits were simpler, since the original shots already had better framing and fewer distortions. The only extra step was a quick brightness or contrast tweak inside the default gallery app.
Default settings compared with the adjusted setup
The table below summarises what usually changes when you move from default behavior to the improved method. These are general patterns and exact results will depend on your phone model and lighting.
| Aspect | Default Front Camera | With Selfie Camera Trick |
|---|---|---|
| Face shape | More stretched at edges, nose can look larger | More natural proportions, less wide angle distortion |
| Composition | Head centered, eyes often low in frame | Eyes near top third line, more balanced background |
| Sharpness | Slight blur from hand movement at full wide | Improved mid frame detail with small zoom and focus tap |
| Editing time | More cropping and heavy filters | Light adjustments only, better straight from camera |
| Consistency | Each selfie looks slightly different in angle | Repeatable pose and framing routine every time |
Small adjustments that improve consistency
Use Natural Light When Possible
Window light is usually softer and more flattering than harsh ceiling bulbs. Stand facing the window from a short distance, never press your face directly into the glass. If the sun is very strong, step a little to the side so the light is diffused across your face.
Disable Aggressive Beauty Filters
Many camera apps apply skin smoothing, eye enlargement, or face slimming by default. In settings, look for options like Beauty, Retouch, or Face shape and keep them low. Over processed skin can look strange and may reduce detail when you crop or repost later.
Check Aspect Ratio
If you mostly post stories or short video, switch to 9 by 16 or full screen ratio so you see what will actually appear in the feed. For profile photos and prints, 4 by 3 or 1 by 1 is often easier to crop without losing your head or chin.
Privacy checks before using a camera utility
Some camera apps and third party selfie editors may upload images for cloud processing. Check app permissions and avoid apps that ask for unnecessary access or that you downloaded from untrusted sources. When in doubt, prefer the built in camera and a well known editing app with clear privacy controls.
A practical selfie setup to keep
You do not need a new phone to improve your selfies. Small camera behavior changes can bring bigger gains than another megapixel upgrade. Turning off mirrored saves, enabling the grid, and adding a small amount of zoom reduce distortion and help you frame your face in a more flattering way.
Combine this selfie camera trick with better light, a slightly higher camera angle, and gentle editing. After a few days it becomes a simple routine: open the camera, check light direction, confirm zoom around 1.2, align your eyes on the grid, and tap to focus. That habit is realistic for daily use and gives you consistent, shareable results.
Common selfie-camera questions
Does this selfie camera trick work on budget phones
Yes, it often helps cheaper phones even more because their lenses are usually wider. The small zoom and better framing reduce the stretched look that many low cost selfie cameras produce.
Should I always keep the front camera un mirrored
If you mostly shoot for yourself, mirrored may feel more comfortable. If you share publicly or use the image for work, non mirrored usually looks more natural to other people.
Is digital zoom bad for quality
Heavy digital zoom can reduce detail, but a tiny step like 1.1 or 1.2 usually has minimal impact while noticeably improving face shape. You can test with a few sample shots and keep the level that looks best on your device.
Which camera app is best for selfies
Most built in camera apps are good enough if you adjust their settings. If you want more control, look for well reviewed apps that let you change grid, aspect ratio, and disable aggressive beauty effects. Always install from a trusted store.
How can I make group selfies look better
Use the rear camera when possible and a timer for higher detail. If you must use the front camera, step back, keep everyone toward the center of the frame, and still use a slight zoom to avoid stretching faces at the edges.
Thank you for reading. If you found this useful, stay tuned and follow the blog for more latest tech news, practical phone tips, helpful apps, AI tools, and other simple tricks that actually improve daily use.