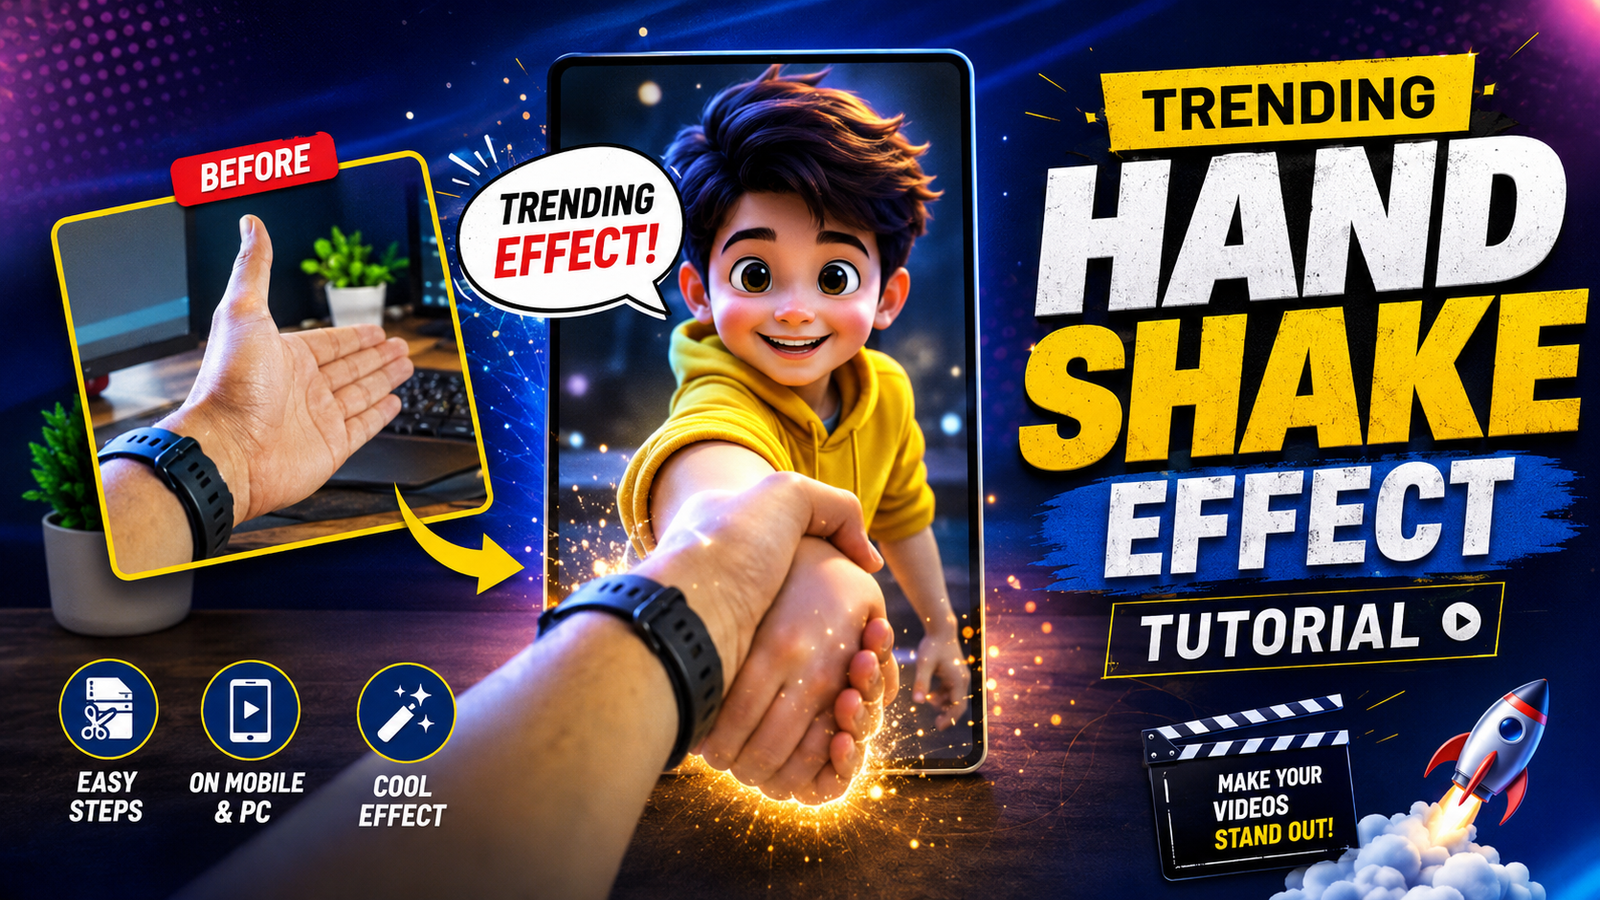
A handshake transition works because the cut is hidden at the moment two hands meet or fill the same part of the frame. The effect does not require a specific app; it requires repeatable camera position, matching hand direction, similar scale, and a clean edit point.
Plan the before-and-after scene first. Lock orientation, resolution, frame rate, exposure, focus, camera height, and distance, then record more motion before and after contact than the final edit needs. A tripod or fixed support makes alignment easier.
Match the contact frame in both clips using position and rotation guides, trim on movement, and add only enough motion blur or masking to hide a small mismatch. Heavy effects cannot repair different camera angles, lighting, sleeves, or hand placement.
Get consent from every participant, use licensed audio and visual assets, and avoid filming in a way that blocks a road, stairway, public entrance, or another person. The steps below work in any editor with precise trimming and basic transform controls.
Related Resource
The DOWNLOAD NOW button opens a Google Docs resource related to the effect. Review its sharing status and content before copying instructions; it is not required to follow the camera and editing workflow described here.
How the contact frame hides the transition
The handshake effect is a transition where a hand enters the frame usually from one side then connects with another hand and at the moment of contact the scene changes. It can be used to switch outfits locations characters or moods. Viewers like it because the motion hides the cut and it feels satisfying when the timing matches the beat of the audio.
On social media there are two common variations. First is the simple meet in the middle cut where both hands appear then the next scene starts exactly at the point of touch. Second is the advanced style where you add motion blur or masking so the hands themselves stay on screen but the background flips to a new scene. Both can be done on a mid range Android or iPhone if you shoot carefully.
Editor features that matter more than the app name
You can technically create the effect in almost any editor that supports simple cuts. However some apps offer better control for matching frames and smoothing small errors. Below is a quick comparison of popular choices. Availability and features can change with updates and region so treat this as a starting point and check the latest version info inside the store.
| App | Platform | Useful Features For Handshake Effect | Ideal For |
|---|---|---|---|
| CapCut | Android iOS | Frame by frame trimming speed ramp motion blur presets keyframes | Creators who want trendy effects with easy presets |
| VN Video Editor | Android iOS | Precise timeline magnetic snapping overlays free export | Clean no watermark edits and manual control |
| Alight Motion | Android iOS | Advanced motion blur keyframes masking graphs | Advanced users who want custom animation |
| InShot | Android iOS | Simple timeline basic speed control filters | Quick casual edits and basic handshake cuts |
For most beginners CapCut or VN are a good balance of control and simplicity. If you are already comfortable with one editor there is no need to switch only for this effect. Focus on how you shoot and where you cut first.
Record and align a repeatable handshake transition
Step 1: define the visible change
Decide what the handshake will actually change. You can switch from casual to party outfit from normal room to outdoor location or from solo shot to group shot. This choice matters because your camera height background color and lighting should not change too much between the two clips otherwise the cut will look harsh.
Step 2: lock camera, exposure, and frame rate
Use a tripod or at least a stable object like a table or shelf. Mark the spot where your phone sits with tape or an object so you can place it in the same position for both shots. Turn off extreme beauty filters or heavy stabilization if they create micro zoom differences between takes. Keep the frame at chest or waist level where your hands will meet naturally.
Step 3: capture the first approach and contact
In the first clip you bring your main hand into the frame. Move it in a straight clean line toward the center where the other hand will appear later. Hold the last position for an extra second before removing your hand. This extra part gives you more room in the editor to choose the perfect frame for the cut.
Step 4: match direction, hand scale, and contact
Without changing the camera position record the second clip. Now the other hand comes in from the opposite direction and pretends to complete the handshake. Use your phone screen as a reference to align the fingers and angle. It helps to watch the first clip just before recording the second one so the speed and path look similar.
Step 5: trim on motion and correct small offsets
Import both clips into your chosen app and place them on the timeline back to back. Zoom in to see the frames clearly. Scrub through the first clip and find the frame where your fingers are almost touching. Cut at that exact point. Then in the second clip trim until the frame where the hands are at the same distance as in the first clip and place it right after the cut.
Play the transition. If the hands jump slightly align by nudging one clip a frame forward or backward. Minor mismatch is normal on the first try. For more impact you can add a subtle flash or motion blur right at the cut so the eye focuses on the motion instead of the edges.
Two adaptable transition setups
Example 1 Outfit change handshake
Clip one you stand in a simple T shirt extend your right hand toward the camera. Clip two you wear a jacket or festive outfit and extend your left hand to complete the handshake. At the moment of contact the outfit jumps from casual to party. This is popular for festival or party announcement reels. Keep the background similar to avoid a messy switch.
Example 2 Long distance friendship handshake
Here two people in different cities record separately. Person A records a right hand reaching from left to center. Person B records a left hand reaching from right to center and matches frame size and angle as closely as possible. In editing you stack the clips and cut on contact so it looks like they are shaking hands through the screen. This works well with emotional or nostalgic audio.
Diagnose a transition that jumps at contact
Imagine you record a handshake switch from room to park. After editing you notice that the hands do not align and the camera height is different. The result looks like a jump cut instead of a cool effect. Instead of reshooting everything you can reduce the problem in the editor.
First slightly crop and zoom one of the clips so the hands appear at similar sizes. Second use position keyframes if your app supports them to nudge the frame a little up or down as the handshake happens. Third add a very quick white flash or blur at the contact frame. Viewers now feel the energy of the impact and pay less attention to the imperfect alignment. It may not be perfect but is usually good enough for a short trend video.
Alignment, lighting, consent, and audio mistakes
- Changing lighting too much between clips which reveals the cut instantly
- Recording hand moves at very different speeds so the motion does not match
- Using handheld shots that shake differently in each clip and break the illusion
- Adding heavy filters on only one side of the transition which makes it feel like two unrelated videos
- Downloading untrusted mod APKs of editing apps which can risk your data and accounts
Try to keep your setup simple and repeatable. Good planning usually gives better results than using dozens of advanced effects.
A clean cut begins during recording
The trending handshake effect on video making looks complex but it mostly depends on clean shooting and correct timing at the cut. A stable camera matched hand movement and careful frame selection are far more important than any secret preset or plugin. Once you lock these basics you can add extra style like motion blur color grading or AI backgrounds according to your taste.
Start with a simple outfit change or friendship handshake reel and do two or three test versions. Watch them side by side and notice how even one frame of difference changes the feel of the transition. That practice will give you the eye needed to handle more advanced variants later. Save your project files so you can reuse the structure whenever a new handshake trend audio appears.
Common questions about handshake transitions
Which app is best for the handshake effect on mobile
CapCut and VN are both strong options because they offer precise trimming and easy timelines. Pick the one you already know and focus on mastering your cuts first.
Do I need a tripod for this transition
You can try without a tripod but a fixed position makes the effect much cleaner. If you do not have a tripod place the phone on a stable surface and avoid touching it between takes.
How long should each handshake clip be
Record at least 5 to 8 seconds so you have room to adjust. In the final edit the handshake moment itself is usually less than one second.
Can I make the handshake effect with AI tools
Some AI video editors can add motion blur or background change automatically but they still need clean source clips. AI will not fix very bad framing or totally different hand angles.
Is this effect safe for monetization
Yes as long as the content audio and branding follow the platform policies. Avoid using copyrighted music or logos without permission if you plan to monetize.
Thank you for reading this guide. If you found it helpful follow our blog for more latest tech news useful apps AI tools and practical video editing updates.